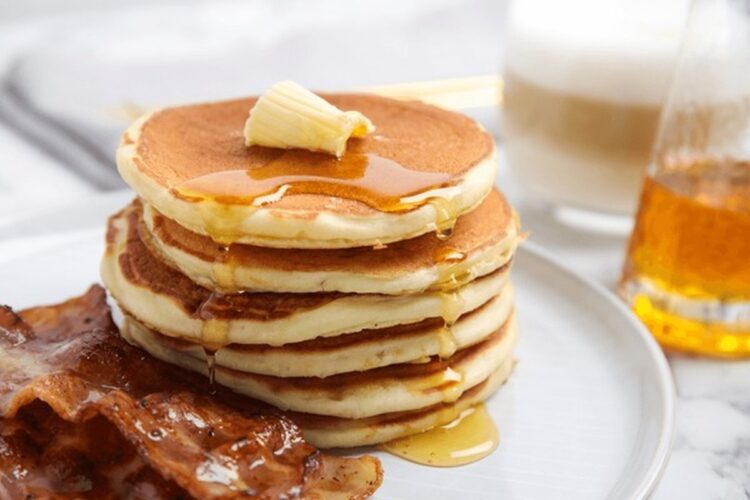
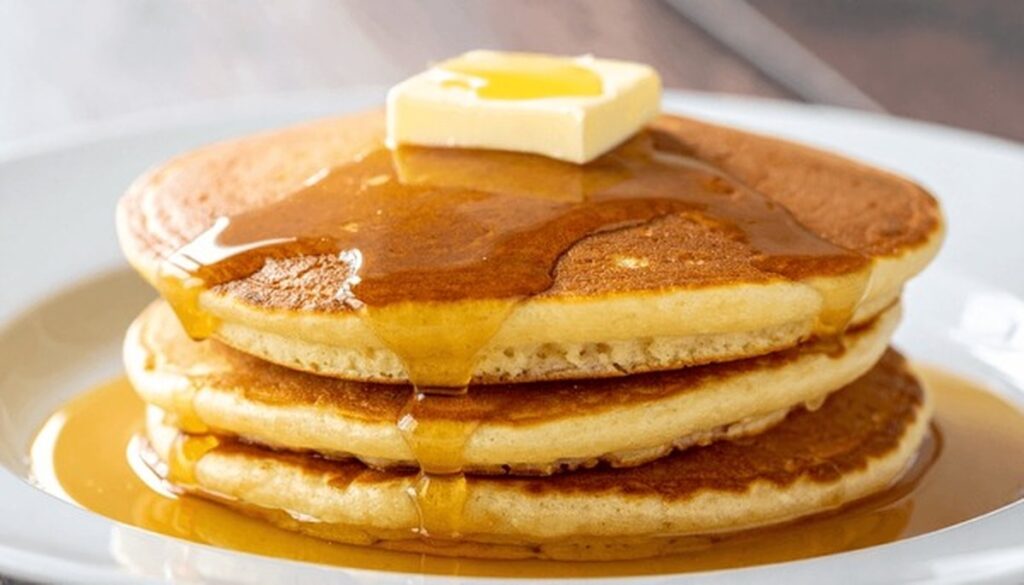
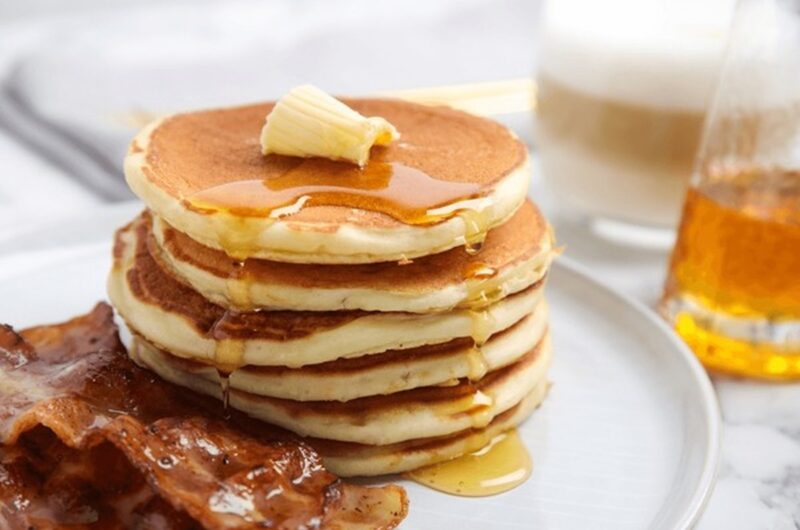
This is my go-to recipe for the fluffiest gluten-free pancakes. They’re light, airy, and incredibly easy to make, requiring just one bowl and minimal effort. Simply mix the batter, let it rest for a few minutes, and cook on a hot griddle. That’s all it takes to create perfect pancakes!
Jump to Recipe Print RecipeIngredients Breakdown
Here’s what you’ll need to whip up a batch of these delicious gluten-free pancakes:
- Gluten-Free Flour: Different gluten-free flour blends can vary significantly. This recipe was developed using Bob’s Red Mill 1:1 Gluten-Free Flour blend for consistent results. Substituting another blend might yield slightly different outcomes.
- Sugar: A small amount of granulated sugar adds subtle sweetness and promotes browning during cooking.
- Egg: Just one egg plays a key role by adding structure, enhancing flavor, and contributing to the pancakes’ rise.
- Milk: You can use any milk you prefer—dairy or non-dairy options both work beautifully in this recipe.
- Oil: Neutral-flavored oil works wonderfully, but if you prefer a buttery flavor, melted butter is an excellent substitute. Just ensure it’s slightly cooled before adding it to the batter.
- Vanilla Extract: Vanilla lends a gentle sweetness and aroma. For a twist, you could use almond or lemon extract instead.
- Baking Powder: This ingredient is essential for achieving fluffy pancakes.
Salt: Use regular table salt, as it dissolves easily into the batter.
Flavor Variations
If you’re a fan of adding mix-ins to your pancakes, this recipe is versatile enough to accommodate them. Whether you prefer blueberries, chocolate chips, or even both, it’s easy to adapt:
- Blueberry Pancakes: Gently fold ½ cup of fresh or thawed blueberries into the batter.
- Chocolate Chip Pancakes: Swap the granulated sugar for light brown sugar, then sprinkle chocolate chips onto the batter immediately after spooning it onto the griddle. For extra indulgence, top with a dollop of whipped cream.
- Blueberry-Chocolate Chip Pancakes: Combine the two flavors for an irresistible twist!
Steps to Make Gluten-Free Pancakes
Making these pancakes is so simple that you can manage it even when you’re half-asleep. With just a whisk, a bowl, and a hot griddle, you’re all set!
Step One: Prepare the Batter
Begin by whisking the dry ingredients together. This ensures the sugar, baking powder, and salt are evenly distributed throughout the gluten-free flour, resulting in uniform browning and rising.
Next, add the wet ingredients to the bowl. Mix until smooth; a few small lumps in the batter are completely fine. Use a spatula to scrape the sides and bottom of the bowl, ensuring no dry flour is left unmixed.
Step Two: Let the Batter Rest
Once mixed, allow the batter to rest at room temperature for 5 to 15 minutes. This resting period enables the gluten-free flours and starches to fully absorb the liquids.
Before cooking, give the batter a quick stir. If it has thickened too much, add a tablespoon of milk to loosen it to the right consistency for spooning onto the griddle.
Step Three: Cook on a Hot Griddle
For the best pancakes, ensure your griddle is properly preheated and lightly greased. A quick spray of nonstick cooking spray or a brush of oil works well.
Spoon about ¼ cup of batter per pancake onto the hot griddle. Cook each pancake for about two minutes, until you see bubbles forming on the surface and the edges appear set. Flip the pancake and cook for another minute until golden brown.
Mastering the Flip
Flipping pancakes may seem simple, but a few tips can help you perfect the process:
- Heat the Pan: Ensure your griddle is hot but not smoking. Pancakes won’t brown or rise properly on a cold griddle, and they’re more likely to stick.
- Leave Space: Avoid crowding the griddle. Leave about an inch of space between each pancake to make flipping easier.
- Watch for Bubbles: Bubbles forming on the surface indicate that it’s time to flip.
- Use the Right Spatula: A large spatula with a thin edge is ideal for getting under the pancake without tearing it.
- Peek Before Flipping: Slide your spatula under the pancake and lift gently to check if the bottom is golden brown. If not, give it another minute.
- Flip Gently: Lift the pancake slightly, then use your wrist to make a quick, smooth turn rather than an exaggerated flip.
Keeping Pancakes Warm
If you’re making pancakes for a crowd, keeping them warm until serving is essential. Line a baking sheet with parchment paper and preheat your oven to 225°F. As you cook the pancakes, transfer them to the baking sheet and place it in the oven. They’ll stay warm for up to 30 minutes before they start to dry out.
Storing and Reheating Leftovers
Leftover pancakes make for a quick and delicious gluten-free breakfast. Here’s how to store and reheat them:
Storing Pancakes
If you plan to eat them within a day, cover the pancakes and store them at room temperature. However, they tend to dry out, so freezing is a better option for longer storage.
Freezing Pancakes
Allow the pancakes to cool completely, then place them in a freezer bag or container. If stacking, place a piece of waxed or parchment paper between each pancake to prevent sticking. Frozen pancakes keep well for up to two months.
Reheating Pancakes
- Microwave: Arrange frozen pancakes in a single layer on a microwave-safe plate. Heat on medium-high for one minute, then flip and heat for another 30 seconds or until warm.
- Air Fryer: Reheat pancakes in a single layer in the air fryer tray until warmed through.
- Oven: For reheating larger quantities, preheat the oven to 325°F. Place frozen pancakes on a baking sheet and heat for about 10 minutes.
The Best Gluten-Free Pancakes Super Easy
Course: DessertCuisine: AmericanDifficulty: Easy7
servings5
minutes10
minutes150
kcalThis is my go-to recipe for the fluffiest gluten-free pancakes.
Ingredients
1 1/6 cups gluten-free flour (5.85 ounces; 165.67 grams) – Bob’s Red Mill 1:1 Gluten-Free Baking Flour recommended.
2 1/3 tablespoons granulated sugar (1.15 ounces; 32.67 grams).
1 3/4 teaspoons baking powder.
Just over 1/2 teaspoon salt (0.58 teaspoons).
3/4 cup + 2 teaspoons milk (7 ounces; 198.33 grams).
1 large egg + about 1 teaspoon of egg white (2.3 ounces; 65.33 grams).
2 1/3 tablespoons oil or melted butter (1.15 ounces; 32.67 grams).
Just over 1/2 teaspoon vanilla extract (0.58 teaspoons).
Directions
- In a medium bowl, whisk together the gluten-free flour, sugar, baking powder, and salt until evenly combined. Add the milk, egg, oil, and vanilla extract, and mix until smooth. Let the batter rest for 5 minutes (you can let it rest for up to 30 minutes if needed).
- Heat a nonstick griddle or skillet over medium-high heat and lightly coat the surface with oil or butter to prevent sticking.
- Scoop about ¼ cup of batter and pour it onto the hot griddle or skillet. Cook for about 2 minutes, or until the edges appear set and bubbles form across the surface of the pancake. To check doneness, gently lift the edge with a spatula to ensure the bottom is golden brown
- Carefully flip the pancake and cook the other side for about 2 minutes, or until it turns a rich golden brown
- Repeat the process with the remaining batter. Serve the pancakes warm with butter and syrup, or your favorite toppings.
- To Keep Pancakes Warm
Before preparing the batter, line a baking sheet with parchment paper and place it in the oven. Preheat the oven to 225°F. - As you cook the pancakes, transfer them to the prepared baking sheet in a single layer, avoiding overlap. Keep them warm in the oven for up to 30 minutes until ready to serve.
